How to Tie a Hair Rig (Without Panic)
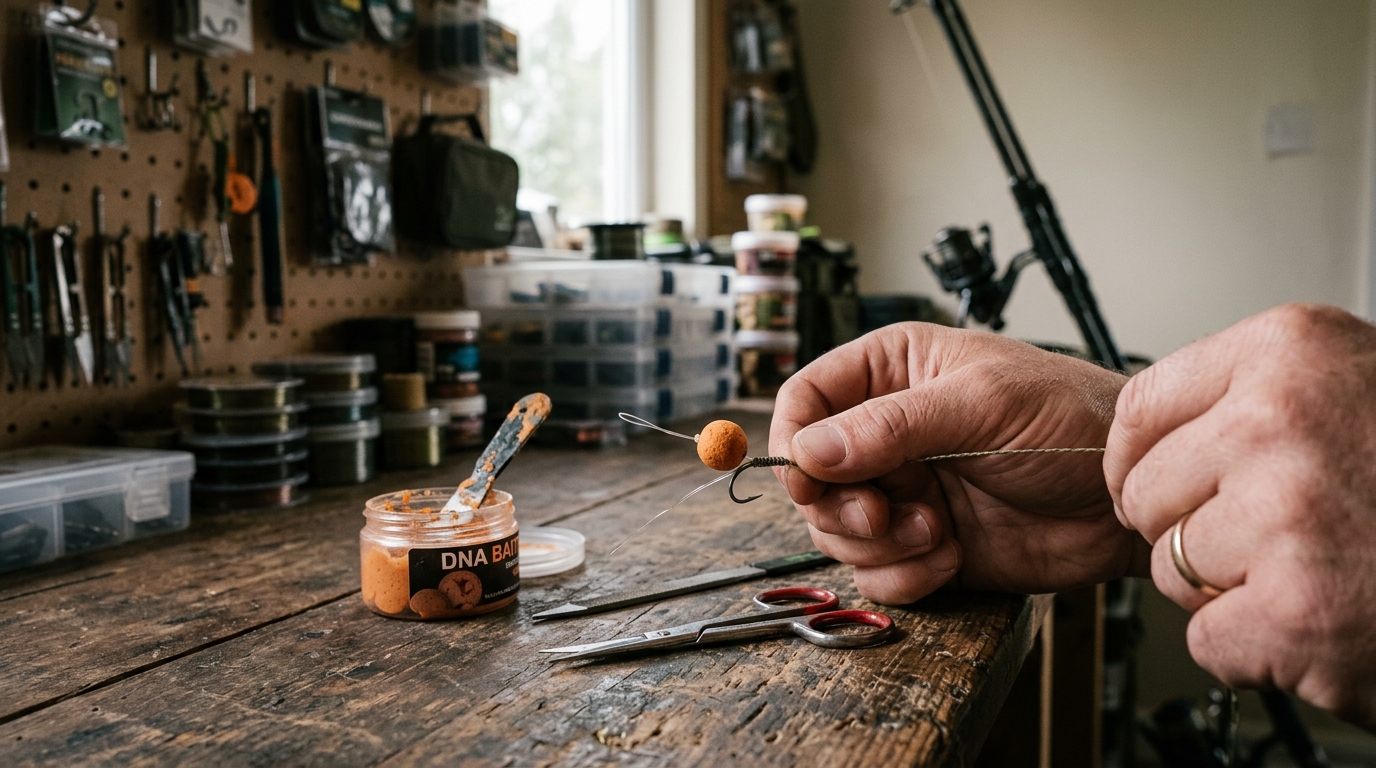
You’ve tied a few knots, watched a dozen YouTube clips, and now the bait keeps sliding off the hook the moment you cast. That sinking feeling when your rig fails is a classic beginner snag. The fix isn’t more gear—it’s getting the hair rig right. This guide shows you how to tie one that holds, works on UK lakebeds, and doesn’t cost a fortune. We’ll also tell you when to buy a pre-tied rig instead of fighting knots you haven’t mastered yet.
What You Need (No Overcomplication)
Keep the kit tidy and the cost down. For most day‑ticket waters you’ll need:
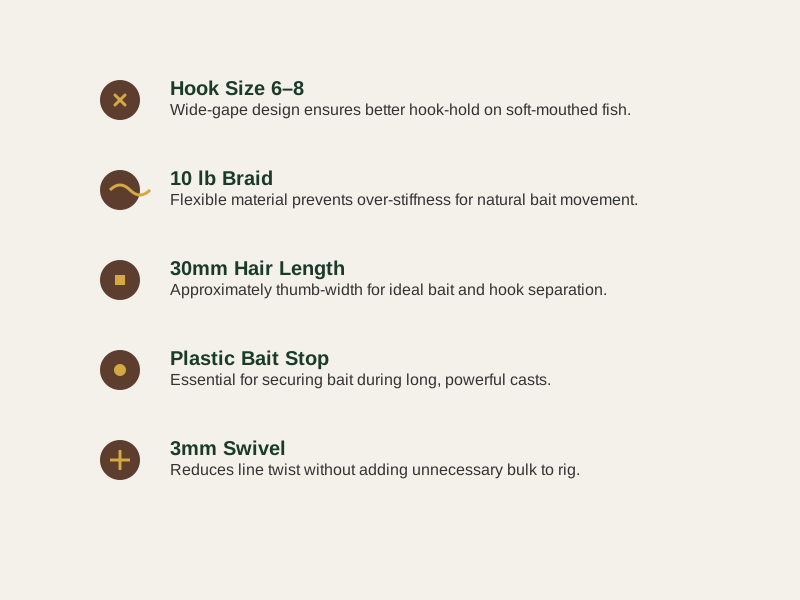
- Hook: Size 6–8, wide‑gape and easy to thread.
- Mainline: 10 lb braid is plenty for the typical 1–2 oz lead you’ll use.
- Swivel: Small‑to‑medium (around 3 mm) – just enough to stop line twist.
- Bait stop: A tiny metal or plastic clip that locks the bait in place.
- Scissors or a hook file: For trimming excess line cleanly.
A local tackle shop will have these basics for around £12–£20 total. If you’re hunting for a starter rod‑and‑reel combo, see the beginner carp rod and reel combo for a sensible price range.
Step‑by‑Step: Tying the Knot
A simple knotless‑knot hair rig works on almost any UK lakebed when tied correctly. Follow the steps below.
Tie a uni‑knot to the swivel.
Form a loop in the line, pass the tag end through the eye of the swivel, then make 5–6 turns around the standing part. Pull the loop tight – you now have a solid anchor.Create the hair loop.
Measure a length of line about the width of your thumb (roughly 30 mm). Form a loose loop and hold it against the swivel’s eye; this will become the “hair”.Secure the hair using the knotless knot.
Pass the hair through the hook eye from below, then wrap the tag end six times down the hook shank toward the bend. Thread the tag back up through the hook eye. Pull both ends tight — the wraps lock the hair in place and the knot should sit snugly but still allow the hair to move a millimetre or two.Fit the bait stop.
Slide the bait stop up the hair until it sits just above the knot. When you later attach the bait, the stop will hold it in place without choking the hair.Trim excess line.
A clean cut a few millimetres from the knot prevents snagging on the hook eye.
What if your bait still falls off? Check that the bait stop isn’t loose and that the knot isn’t cinched so hard the hair can’t flex. Over‑tightening is a common cause of “bait‑off” failures, especially with stiffer line.
For a quick comparison of rig styles, see helicopter rig vs chod rig.
Common Beginner Mistakes (Real‑World)
The error that trips up most newcomers isn’t the rig design – it’s how the knot is handled.
- Too‑tight knot. Over‑tightening locks the hair in place, so the bait can’t move. Carp often feel the bait “glued” to the hook and refuse to take it.
- Bait stop positioned wrong. If the stop sits too low, the bait slides off before the carp even gets a bite; too high and the bait hangs loosely, increasing the chance of a premature drop.
- Stiff line. Using 15 lb braid makes the knot less forgiving; the line can snap back on the hook eye when you tighten it.
- Skipping a dry‑land test. Casting a rig you haven’t pulled on is a recipe for lost bait and wasted time.
A typical scenario on a silty venue: an angler reported that the hair was tied with 15 lb line and the knot was pulled until the hair snapped straight, leaving the bait hanging a centimetre above the hook. The carp never took the bait because it was sitting too high. The fix? Switch to 10 lb braid and give the knot a gentle snug – enough to hold, not to freeze.
For bait‑up specifics, check the baiting up guide.
When to Buy vs. Tie
If you’ve tried three times and the rig still falls apart, buy a ready‑made rig for that session and revisit tying later. A ready‑made hair rig costs roughly £1–£2 per rig and will survive 3–4 outings; the DIY approach can save you about £50 a year if you fish monthly, but only once you’ve mastered the knot.
- First attempt: Tie the rig, test it, and if it holds, keep using it.
- Second failure: Re‑watch a tutorial, double‑check the bait stop and knot tension.
- Third failure: Grab a pre‑tied rig, use it for the day, and practice the knot at home.
Buying a ready‑made rig isn’t admitting defeat – it’s a belt‑and‑brace move that gets you on the water. When you’re ready to refine your technique, the practice will pay off. For a quick rundown of the best ready‑made options, see ready‑made rigs review.
Now you know what to look for – Download the Free Beginner Carp Fishing Checklist to plan your next session with confidence.
UK Venue‑Specific Notes
A simple hair rig with a pop‑up bait works fine on most silty lakes, but you’ll want to tweak a few things for different water types.
- Silty lakes: The hair should be short (≈thumb‑width) and the bait stop positioned low so the bait sits just under the hook curve. This prevents the bait from floating up on the soft bottom.
- Gravel pits: A pop‑up bait on a short hair gives a clean presentation; the hair length can be a touch longer (up to 40 mm) to accommodate the rougher substrate.
- Heavy weed: A hair rig can snag; many anglers switch to a chod rig or add a lead clip to keep the line clear of vegetation.
The consensus among UK forum regulars is that the basic hair rig is spot‑on for most day‑ticket waters, but avoid it in dense weed where a lead clip rig performs better. For a deeper dive into venue differences, see gravel pit vs commercial lake.
Testing Your Rig Before Casting
A quick dry‑land test saves you from a wasted session.
- Pull the rig hard – the knot should hold with no slip.
- Wiggle the bait; it should move a millimetre or two, not sit rigidly on the hair.
- Listen for any squeak as the knot tightens; a silent pull means the knot is set correctly.
Doing this check takes under a minute and prevents the embarrassment of a bait‑off on the first cast.
For a fuller testing routine, see the rig testing guide.
Fish Care: Unhooking Without Damaging the Lip
Good carp fishing isn’t just about the catch; it’s about returning the fish in top condition. Follow these quick steps:
- Lay an unhooking mat on the ground before you start the session. It protects the carp’s lip and reduces stress.
- Use long‑nosed pliers to grip the hooklink, keeping pressure away from the lip.
- If the hook is deep, don’t yank straight out – gently push the hook forward and work it back the way it went in.
The Angling Trust’s fish‑care guidelines stress that a calm, dry‑mat hand‑over is the best way to keep carp healthy for future trips. Their advice is backed by the Environment Agency’s own catch-and-release standards for coarse fisheries.
Frequently Asked Questions
What is a hair rig?
A hair rig is a carp rig where the bait is tied to a short length of line (the “hair”) that sits beside, not on, the hook. When a carp takes the bait, the hook is pulled away from the mouth, increasing hook‑hold. It’s not magic—it’s mechanics. The bait slides off the hair as the carp moves, letting the hook turn into the lip naturally.
Do I need a bait stop?
Yes. Without it, the bait slides off during casting or when the line hits the water. A bait stop isn’t fancy—it’s a tiny plastic or metal clip that locks the bait in place on the hair. The cheapest ones work fine. Skip this and you’re just asking for a wasted cast.
Can I use a hair rig on weed?
A simple hair rig works in light weed, but in heavy vegetation a chod rig or a rig with a lead clip is usually worth its salt to avoid tangles. Forum regulars on lakes like the Wye Valley or the Midlands’ weed-choked gravel pits say they’ve switched to lead clip rigs after three or four snags. Don’t fight the weed—adapt.
How long should the hair be?
Aim for a hair about the width of your thumb – roughly 30 mm. This gives the bait enough room to move while staying close enough for a solid hook‑hold. Too long and the carp feels resistance before the hook sets; too short and the bait sits too close to the hook point.
What line should I use?
10 lb braid is fine for the majority of UK beginner waters; 15 lb is overkill and can make knots harder to adjust. The stiffer the line, the less forgiving the knot. Beginners often think thicker is stronger—it’s usually just more frustrating.
Hair Rig Setup: Key Components for UK Venues
| Component | Recommended | Why It Matters |
|---|---|---|
| Hook size | 6–8, wide-gape | Easier to thread, better hook-hold on soft-mouthed carp |
| Line | 10 lb braid | Flexible enough for knot movement, avoids over-stiffness |
| Hair length | ~30 mm (thumb-width) | Balances bait movement and hook-set reliability |
| Bait stop | Plastic or metal clip | Prevents bait sliding off during cast — cheap and essential |
| Swivel | 3 mm size | Reduces line twist without adding bulk |
| Bait type | Pop-up or wafter | Works best with hair rig mechanics on silty or gravel lakebeds |
What to Do Now
You now have a clear picture of the tools, the tie‑in process, the pitfalls that cause bait to slip, and the situations where buying a ready‑made rig makes sense. Test your rig on dry land, adjust the bait stop, and you’ll be confident enough to cast without a second‑guessing.
Ready to lock everything down? Download the Free Beginner Carp Fishing Checklist and tick off every essential before you head out. Tight lines, and enjoy the first bite without panic.
For more honest guides written by the team behind this site, head to the About The Bite Guide Team or get in touch if you’re stuck: Get in Touch .
For more questions answered, see the Carp Rigs Q&A Hub .
Related Guides
For a complete overview, see our Carp Rigs Explained: A Complete Guide for UK Anglers .